In this article, I describe detailed instructions on how to prevent Windows recovery. Windows recovery refers to the reinstallation of the operating system. During this process, the user can choose whether or not to retain personal data and software.
Reinstalling the operating system can be useful if technical problems arise or if you have downloaded malicious software that cannot be removed otherwise. For this reason, you should think carefully about whether you really want to prevent Windows recovery. Most users should never choose this option.
Nevertheless, there are cases where it makes sense to completely prevent Windows Recovery. This is the case, for example, when parents have installed protective software on their children’s computers and do not want their children to uninstall the software in this way. An employer who provides laptops to their employees might have the same reason.
Here are two ways to prevent yourself or others from reinstalling Windows through recovery. One of them can be easily reversed, while the other is more complicated. Let’s start with the second case.
Option 1: Delete Windows Recovery Partition
This process cannot be reversed, or is very difficult to reverse. You should therefore think carefully before deciding to proceed. You must also take great care when deleting the Windows recovery partition. If you do it incorrectly, it can lead to data loss or the device becoming unusable. Here I provide step-by-step instructions for deleting the Windows recovery partition.
Some of the screenshots below are in German. Sorry about that. Since this is my native language, it is also the default language on my laptop. However, I will explain the steps in detail to avoid any confusion.
Step 1:
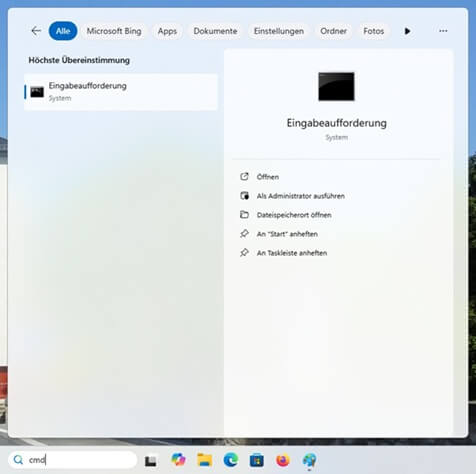
Open the command prompt in Windows. This is easy to do by typing cmd in the search window and pressing Enter.
Step 2:
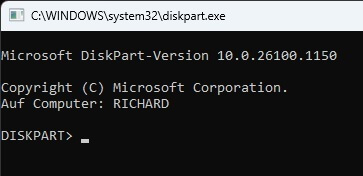
Now type diskpart into the command prompt and press Enter again. A new window will open.
Step 3:
In this new window, type list disk and press Enter. All hard drives and other storage devices will now be displayed.
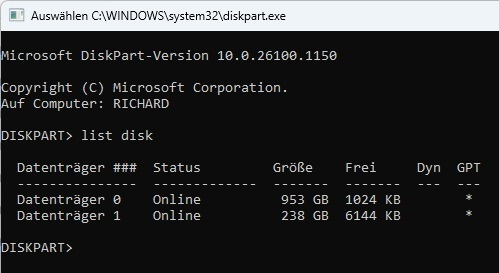
In the screenshot above, two disks are displayed because I had a USB stick connected. If you only have one hard drive, only one entry should be displayed here.
If there are multiple entries, it is important that you select the correct one. This is the hard drive on which the Windows operating system is installed. This is usually the first entry in the list. If in doubt, check the size of the hard drive and whether it matches the entry.
Step 4:
Select the correct disk with select disk [number of disk].
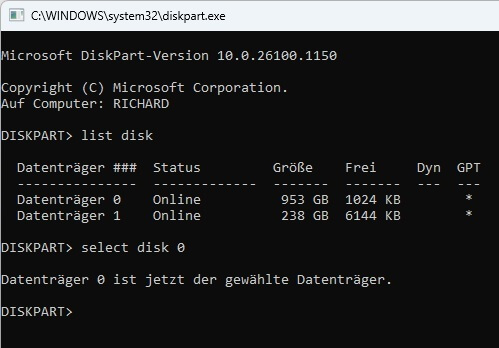
The numbers start at 0. This is usually the first entry. If this is the case for you, you must type select disk 0 here.
Step 5:
Type list partition and press Enter.
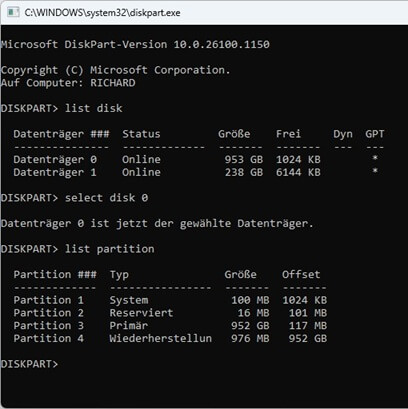
A list of partitions will now appear, one of which is called Recovery (in the screenshot above, the last of the four entries, it is named “Wiederherstellung”, the German word for recovery). If your computer’s language is English, it will say Recovery. If the language is different, it will say the translation of Recovery in your native language. Make a note of the number of this recovery partition. We will need it in the next step.
Step 6:
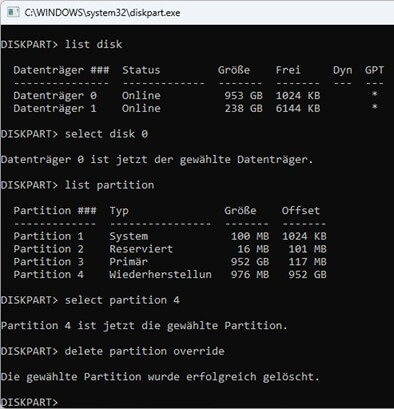
Using the number of the recovery partition, type select partition [number of partition] and press Enter. In the above case, this would be select partition 4. However, your number may be different.
Step 7:
ATTENTION! This is very important. Before continuing, make sure that you have selected the correct partition named Recovery. In this step, we will delete this partition. If you select the wrong one, your device may become unusable or your data may be lost.
Now type delete partition override and press Enter.
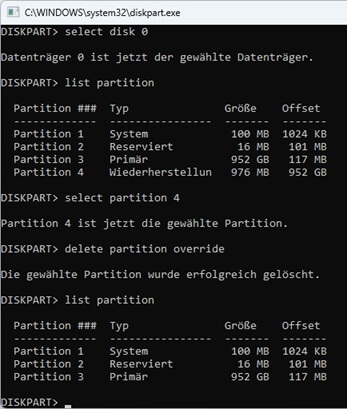
That’s it. We have now removed the Windows Recovery partition. If you enter list partition again, you will see one less partition than before. If you try to recover the operating system now, there’ll be an error message.
Option 2: Prevent Windows Recovery with Pluckeye
The second option is simpler and can be reversed after a while. This involves the Pluckeye software. It is designed to filter or block websites. It is particularly useful for protecting children or yourself from pornographic or other harmful content. To familiarize yourself with the software, it is best to read the linked article.
To prevent Windows Recovery, simply type pluck + norecovery into the command prompt (if you have already installen Pluckeyse). That’s it.
As described in the article linked above, Pluckeye works with a delay. You can choose the delay yourself, and it can be one second, one week, or everything in between. For example, if you want to allow websites, you must first wait for this delay to take effect. The same happens with norecovery. If you want to undo this command with pluck – norecovery, you can only do so after the delay has expired.
Conclusion
In this article, I have presented two ways to prevent Windows recovery. The first, deleting the Windows Recovery partition, requires you to be very careful and follow each step precisely, as a mistake can have serious consequences. The second method, using Pluckeye, is easier and can be reversed without any problems. However, this also applies if children use the device. You should think carefully beforehand about whether you really want to take one of these steps and, if so, which one.
0 Comments